Installation instructions
Interior panels, decoration panels, ceiling panels and sauna panels finish the room beautifully. The panels improve acoustics and create a harmonious and natural atmosphere in any space. Check out our installation instructions below for bench boards, sauna panels and interior panels.
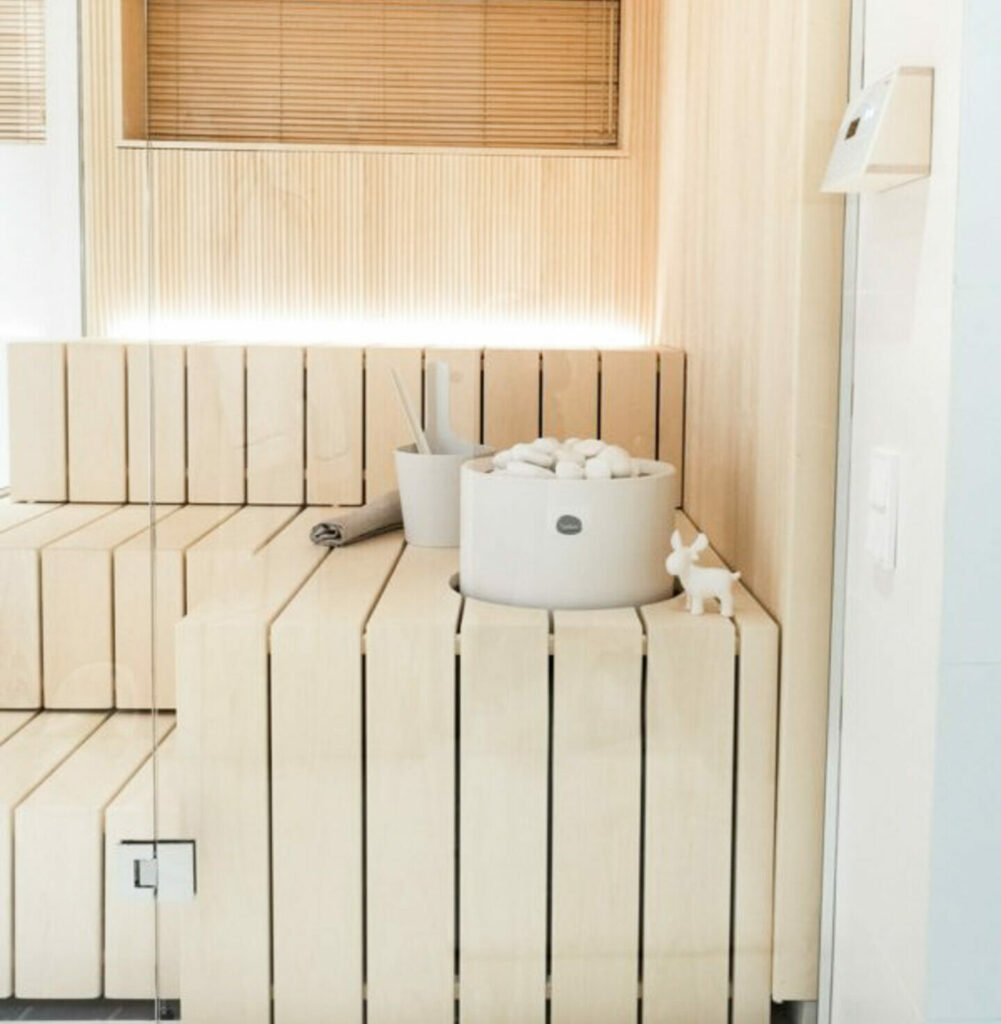
Bench board installation
There are a few general rules for installing bench boards: The frame must be sufficiently sturdy. Ventilation gaps must be left between the wall and the benches to allow air to circulate and the benches to dry from all sides. We recommend installing adjusters under the legs of the benches. Metal legs allow for adjusting the posts to the same level and prevent the absorption of moisture from the floor to the posts.
Basic dimensioning rules: The height of the upper bench is not determined from the floor, but from the ceiling. The height of the lower bench is measured from the surface of the upper bench. A suitable height for the upper bench is usually 110–115 cm from the ceiling. The lower bench should be 42–45 cm below the surface of the upper bench. The typical width of benches is 40–60 cm.
Sufficiently long and stainless screws must be used for fastening
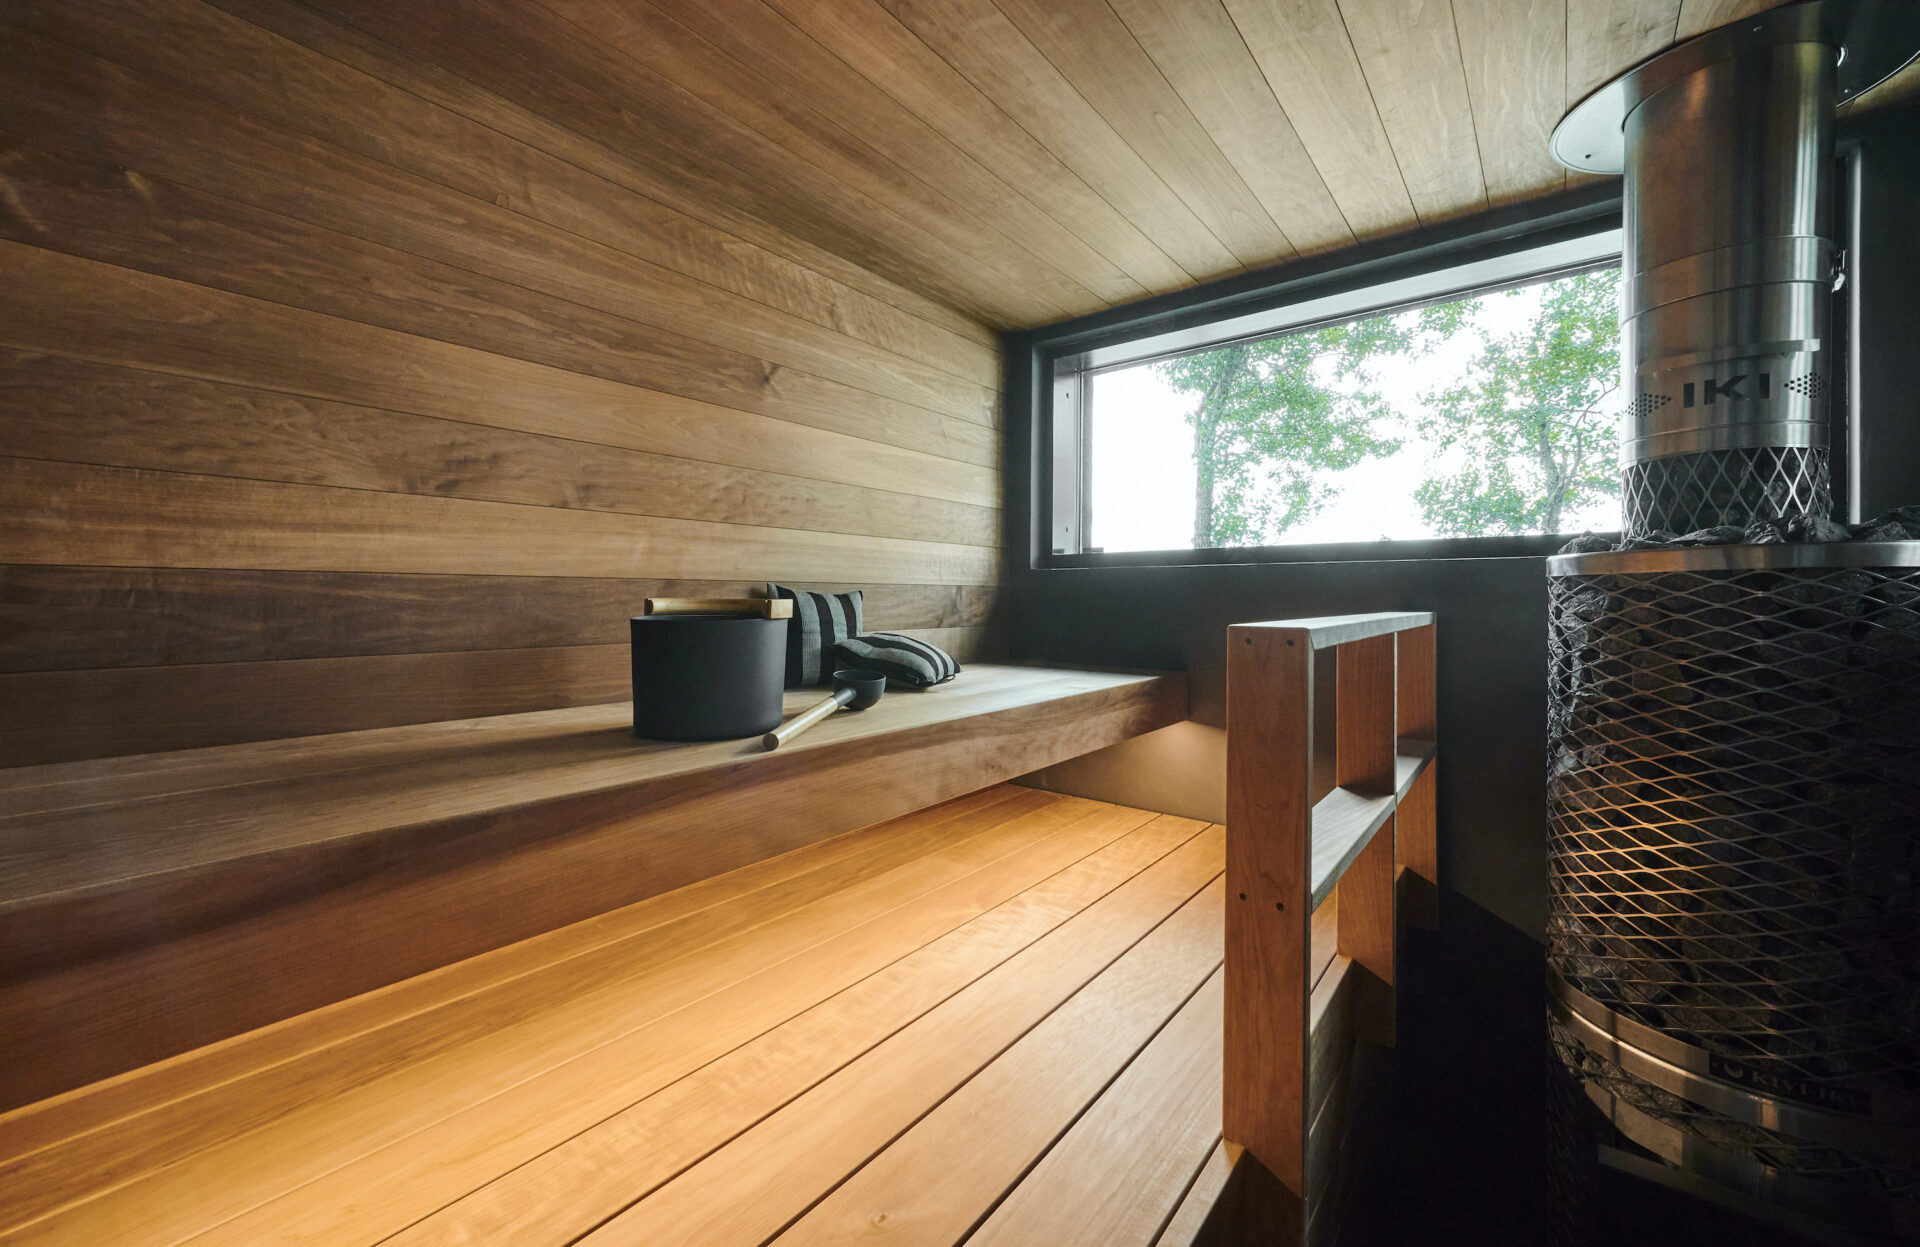
In general, the fire protection distances of the stove must be met if the benches are made of combustible material. With regard to wood-burning sauna stoves, the safe distances are typically larger than in electric stoves. The distance can be reduced with protectors, but the space and fastenings reserved for these must be taken into when planning the dimensions of the benches. In addition to the fire hazard, the surface temperatures of wood-burning stoves may also cause a risk of accidents, which can be reduced by installing a railing.
Frame construction
Use precisely dimensioned wood for the frame of the benches, e.g. 48 x 98. The best material for the frame of the benches is resin wood; spruce and pine. Note: Black alder or aspen are not suitable as the frame material for benches. Use a level to check that the frame is aligned with the wall panels. If there are no reinforcements on the wall, attach the frame of the benches to the frame posts on the wall. Sufficiently long and stainless screws must be used for fastening and it is a good idea to drill holes for them in advance in order to prevent the frame from cracking. Leave a 5 mm ventilation gap on the side of the wall with wedges. A suitable height for the upper bench is usually 110–115 cm from the ceiling. The lower bench should be 42–45 cm below the surface of the upper bench.
Note: If the sauna has a firewall on a different level than the walls, it is necessary to take into account how the shape of the boards and the fastening of the frame are implemented in the planning phase. If the bench frame is attached to a stone wall, it must always be attached with screw plugs. A 5 mm ventilation gap must also be left between the stone wall and the frame. If the frame is not to be attached to a stone wall, a self-standing frame must be built next to the stone wall.
Building benches
When the frame is ready, the construction of the benches can begin. Sufficiently long stainless screws must be used in fastening the benches and it must be ensured that the same ventilation gaps between the benches and the wall as those used in the frame are maintained. Concealed fastening is a preferred option, that is, if possible, all screws are screwed from the inside, so that the screw heads do not remain visible. The screw heads become hot in the sauna and can burn the skin. Be sure to position the bench boards so that the better side A is visible as the seat surface. When installing the benches’ front edge boards, leave a ventilation gap between the frame and the front edge board, for example, with a piece of plywood.
Bench panel installation
The panels must be stored in a dry place protected from sunlight and rain. It is advisable to open the ends of the plastic packages to allow air to enter the package. A few days before starting panelling, the packages must be brought to the installation site so that the temperature and humidity of the wood will be in line with the installation space (room temperature about 20 degrees Celsius and humidity less than 50%). Treat the wood in advance before installation if you need to treat the natural wood materials. When installing wall surfaces, all panels used should be from the same production batch in order to minimise the natural colour variation of wood.
Before starting panelling, ensure that the batten layer underneath the walls and the roof, i.e. the rainscreens, have been installed correctly to allow air to circulate behind the panel. In addition, a vapour barrier must always be installed under the rainscreen to prevent moisture from the sauna from entering the structures. If a wall panel is mounted upright, a double rainscreen must be installed crosswise, with the first layer in an vertical position and the second layer in a horizontal position. The rainscreen is installed on the wall with a division of 600 mm and on the ceiling with a division of 400 mm. In addition, there must be sufficient fastening boards on the walls for fastening the stove and benches.
Attach the panels with a brad nailer. The typical recommended length of the nail is 45–55 mm, depending on the width of the panel. If you wish to conceal the nails, the panels can be nailed from the inner surface of the groove or at an angle from the tongue with 2–3 nails per rainscreen board. Concealed fastening also improves the durability of the panels as it prevents water from damaging the wood around the nail heads.
Start the panelling of the sauna from the ceiling. Install the first panel on the back of the roof. Leave a 10–15 mm margin and ventilation gap between the wall and the panel. The panel is correctly positioned if there is a ventilation gap of 5 mm at each end. Nail down the panels to the rainscreens. As the panelling proceeds, it is advisable to check the progress with a measure from both the starting and ending points and the straightness with a level so that there is no need to make a wedge panel at the end.
If you want to install mouldings in the corners of the walls, they should be installed before installing wall panels. Install the corner moulding behind the panels. Position the moulding so that there is a ventilation gap of a couple of millimetres at the top. Nail down the corner moulding to both walls to fix it in its position.
Leave a margin and ventilation gap of 10–15 between the ceiling and the panel when installing the first panel on the back wall. Cut the tongue of the first panel on the back wall to make the upper edge look clean. A thickness gauge can be used as an aid in the installation of the first panel on each wall to ensure that there is a sufficient gap between the panel and the ceiling for ventilation and warping. Dimension the panel according to the instructions for panelling the ceiling, 5 mm shorter than the wall at both ends. If you want to install corner mouldings, the panel must end 5 mm before the moulding to avoid moisture between the panels and the moulding. Attach the panels with a brad nailer to each rainscreen. Start the panelling from the top and end with the bottom. The next panel is always installed by inserting its tongue into the groove of the previous panel. Ensure the straightness of the wall with a level. When installing the panels in a wet room, the lower end of the panel wall should be 150 mm above the finished floor surface. Overlap the panels 50 mm on top of the floor material extending to the wall. Cut the bottom panel narrower, if necessary, and cut a wedge at the bottom edge behind the panel to act as a drip. Treat the cut edges with a treatment agent suitable for this purpose. Next, install the panels on the side walls and, finally, on the front wall with the same instructions as on the back wall.
Drill holes for feed-throughs when installing the panel. It is possible to make a hole for a ventilation pipe with a hole saw. Measure the centre of the pipe from the ceiling and the nearest wall. Remember to take the ventilation gap at each end into account when taking the measurements. If the hole’s location is behind two panels, put the panels together before drilling the hole to make it easier to measure and make the hole. Place a collar at the end of the ventilation pipe on top of the hole on the panel for installing the inlet or outlet air valve.
Interior panel installation
The installation of panels in other areas than wet rooms is done in the same way as the panelling of a sauna but, in dry areas, it is not necessary to leave a margin for warping and ventilation cracks on the ends of the panels. The most important thing is that the rainscreens of the wall are installed with a division of 600 mm and the rainscreens of the ceiling with a division of 400 mm.